5.3.1. Installation
The ADE Manager plugin is packaged with the Importer/Exporter installer. When using the GUI-based setup wizard for installation (see Section 1.2.1), you can simply select the plugin from the list of available software packages as shown below.
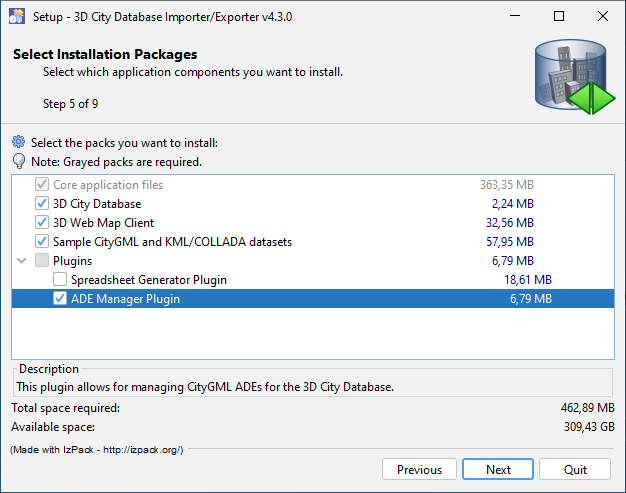
Fig. 5.12 Installation wizard of the Importer/Exporter tool.
Important
Please note that the ADE Manager Plugin may not work with Java 17 or later versions.
If you have not installed the plugin together with the Importer/Exporter, it is also possible to install it at any later time with the following steps:
Download the ADE Manager plugin as ZIP file from the official 3D City Database website at https://www.3dcitydb.org or from the releases section of the GitHub repository used for maintaining the plugin at https://github.com/3dcitydb/plugin-ade-manager.
Caution
Make sure the version of the ADE Manager plugin that you want to download can be used together with the version of your Importer/Exporter installation.
Open the
pluginsfolder within the installation directory of your Importer/Exporter and unzip the ZIP file of the ADE Manager plugin there. If thepluginsfolder does not exist, then create it first. After unzipping, a new subfolderplugin-ade-managershould have been created containing all files required by the plugin.Run the Importer/Exporter. The ADE Manager plugin should be automatically detected and loaded.
If you have successfully installed the plugin, the ADE Manager operation tab is available on the operations window of the Importer/Exporter as illustrated below.
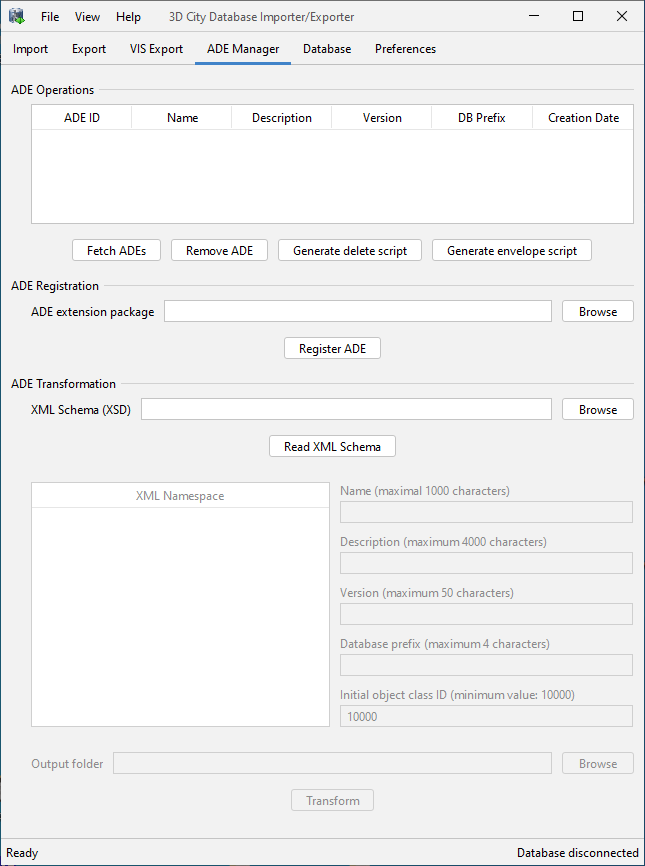
Fig. 5.13 The “ADE Manager” operation tab of the ADE Manager plugin.